C4 Rear-End Disassembly
In this chapter we completely disassemble the C4 rear suspension to its individual components.
The C4 Corvette was in production from 1984 to 1996, and improvements were made throughout the production run.
My donor car for the rear suspension and drivetrain is a 1995 Corvette convertible with automatic transmission, and I have big plans for its upgrade. But this chapter will help you no matter what year C4 you may have.
This chapter begins by giving background on my rear-end purchase. Then the components of the suspension & drivetrain are identified for you through detailed photos and pointers.
The tools you need are then listed, and they are also extensively illustrated throughout the chapter as they are used. Finally, I show you the safest method to secure the front-end to begin the disassembly process. The work area is discussed for ease of work and your safety.
The basics of the C4 rear suspension are explained fully in this chapter. A complete understanding of the components and the engineering GM used to make a world-class handling package is all in this informative chapter.
With 15 clear-cut steps and 39 revealing color photos, this chapter helps you make short work of disassembling your C4 rear-end.
We then dive into the steps to disassembly. Each part is removed in a specific sequence. And all tools needed for each nut and bolt are explained for you.
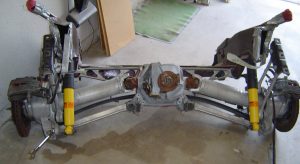
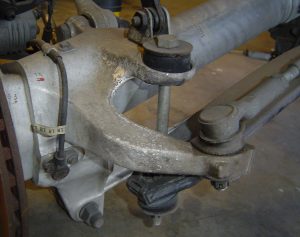
The rear leaf spring is mounted just like the front sprint – in transverse relation to the chassis. In other words, it crosses the chassis side-to-side instead of parallel with the chassis.
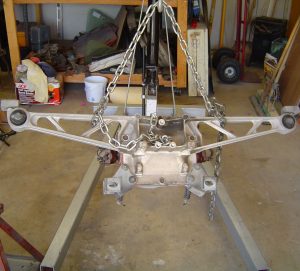
And like the front spring, there is tremendous energy stored in it, so the absolute safest method of removal is revealed to you. I also give you alternative methods that don’t require an expensive tool purchase.
The chapter also gives you advice on labeling, cleaning and storing the components so they are ready to go when test fitting begins later in the book.
Whether your donor rear-end is still on the car or separate like mine, the steps to disassemble the C4 are the same.
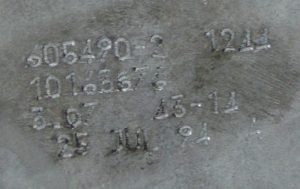
This chapter also explains many aspects of the Dana 36 axle, which was only used on C4 automatic cars. You’ll know how to tell if you have a Dana 36, or its big brother the Dana 44.
Casting codes on the carrier body are decoded for you. This will definitely help you when it comes time to rebuild the axle, change gearing, or buy other replacement parts.
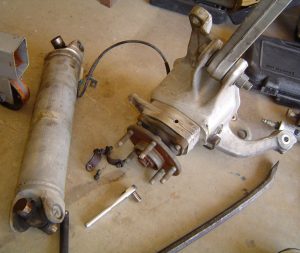
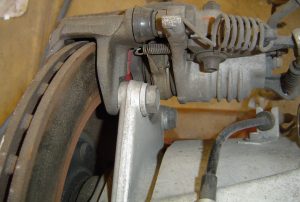
We take the entire braking system off the car as a whole. In Chapter 7, detailed instructions are provided on how to rebuild and restore all pieces of the brakes.
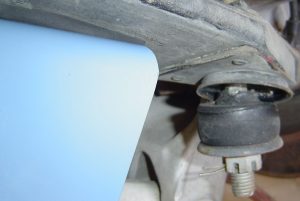
Control rods and shock absorber removal are next and the parts are explained extensively.
And what parts you need to keep are identified and labeled.
The chapter finishes by illustrating in great detail how to remove axle shafts and spindle rods. And important tips on how to label and store these location-specific parts are given.
The carrier assembly is then removed from the frame, and safety suggestions are outlined for you.
Finally, the chapter gives you pointers on how to organize yourself and the parts for easy and confusion free restoration.
All beginners have to start somewhere, and my book speaks directly to the novice hot-rodder of Corvettes.