Test Fit the C4 Chassis, LS1 & T56
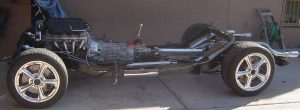
Well, it’s time to see if we have the makings of a car!
Chapter 11 is the chassis mock-up, the all-important next step to building this dream machine.
All major suspension and drivetrain components are test fit on the frame.
In addition, all fasteners are identified and installed.
With 76 pages, 26 steps, and a whopping 248 color photos, this chapter provides a complete roadmap to test-fitting this RestoMod. Let’s turn some wrenches!
This chapter wonderfully explains three sections of the test fit: Front Suspension, Rear Suspension, Engine and Transmission. Each section gives you required and optional tools, as well as, the recommended work space you should use.
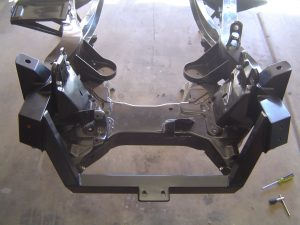
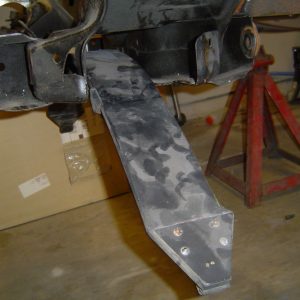
Setting up the frame and installing the C4 cradle are shown first. The suspension cradle from my C4 donor is used in the Newman frame conversion. It fits very well.
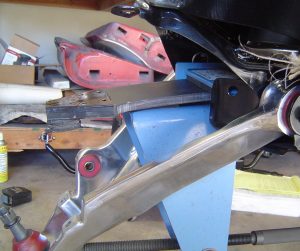
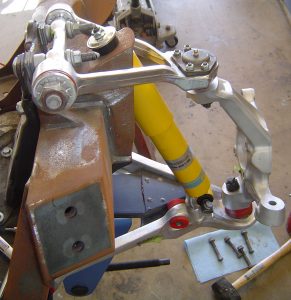
The first step for the suspension is to compress and install the transverse leaf spring. An expensive Kent–Moore tool made this very easy – but man, I hope I can get my money out of it.
Above is a photo of the spring disassembled from the car – this composite spring has tremendous stored energy, so be very careful.
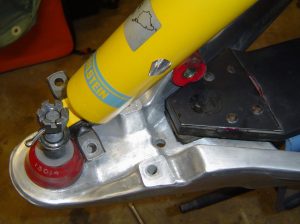
The shocks are fastened to the upper chassis mount and the lower control arm.
For the test-fit, torque settings for fasteners are not needed – only tighten enough to keep the parts together. Final torque will be set when we assemble the chassis for the final time.
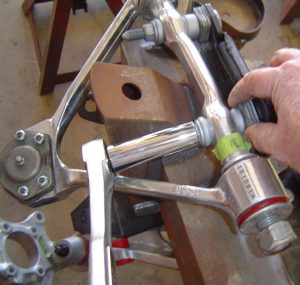
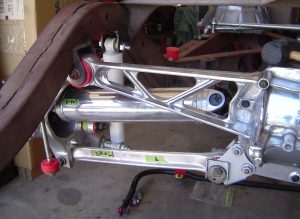
The chapter shows exactly how to install the upper control arms, including the all-important original position of the shims.
These shims MUST be installed in the same order they were removed from the donor vehicle – otherwise it’s big bucks for the alignment shop.
The leaf spring is compressed and installed using a special (and expensive) tool, but wow does it make the job easier.
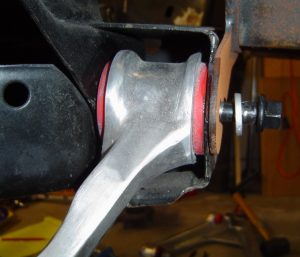
From there the lower control arms are put in place. There can be interference with the spring compression tool, but I show you a foolproof method for getting around this problem.
Next, the steering knuckles are fastened to the upper and lower control arms (above). Some adjustment to the ball joint studs is needed, and the chapter explains that fully.
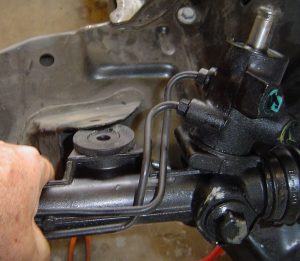
The remanufactured AC Delco rack & pinion steering gear from Rock Auto goes on next. Don’t throw your old one away, it must be sent back to the remanufacturer for you to receive credit.
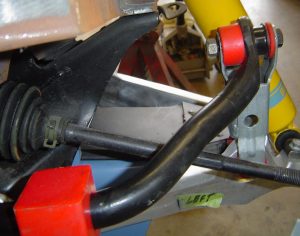
For the sway bar, required retainers for the center mounting bushings were not with my donor front-end. So I show you how to easily fabricate those with correct measurements and a diagram. Lastly, the rotors and brake calipers are installed.
The rear suspension test fit is illustrated in this very detailed chapter. I show you how to properly install:
Carrier, Trailing Arms (control rods), Axle Shafts, Camber Rods (spindle rods), Steering Knuckle, Shock Absorbers, Transverse Leaf Spring, and Tie Rods.
And a supplemental section shows the upgrade from Banski Motorsports to make this car handle much better!
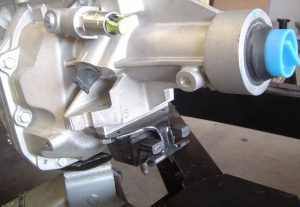
We install the engine next and I give you all the details on using your hoist, and how to attach the bellhousing – purchased from Keisler (bought out by Silver Sport ).
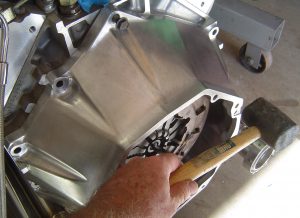
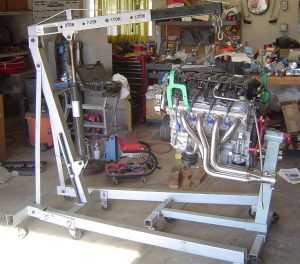

The headers are not only beautiful, but they fit inside the narrow frame rails like a glove – these were part of my purchase package with Newman Car Creations. They’re retired now, but great people!
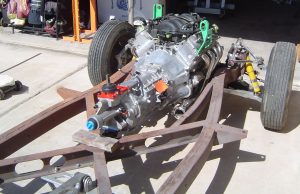
The LS1 settled in to the mounting buckets perfectly. The test fit does not require completely assembling the T-56 transmission to the LS1. The clutch disk and pressure plate were not part of the fitment – that comes later during the final assembly.
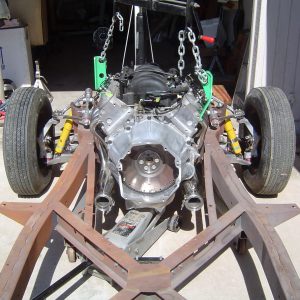

One problem with the fitment of the T56 transmission to the frame is described, and the fix is shown for you.
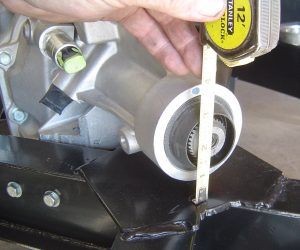
All the steps to correctly measure, angle, and phase the driveshaft are laid out for you in plain English.
Phasing the driveshaft is of particular importance – otherwise bad things happen.
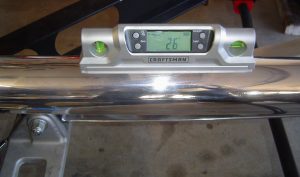
My good friend and brother-in-law, Dangerous Dave, knows how to give gifts: my electronic angle finder.
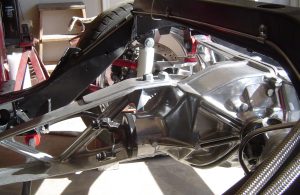
There’s nothing like seeing all your hard work pay off big time!
All beginners have to start somewhere, and my book speaks directly to the novice hot-rodder of Corvettes.
See Chapter 11 in the Bookstore.