Polish C4 Suspension & Chassis Parts
To really elevate your project to the envy of everyone, polishing your chassis is the way to go.
In this very detailed chapter, I show you how to sand and polish your C4 suspension to a brilliant shine! You’ll see how to repair damaged areas, what to look for when sanding, and how to polish those sanded parts to look like chrome.
With 52 pages and 146 color photos, this chapter is a must-have for any builder willing to go the extra mile.
The chapter begins by listing and explaining all the needed tools and supplies. Both hand sanding and power sanding tools are covered. Also shown are the buffing tools and how they are used.
Shown above are mini-files, sandpaper, and a sanding block and are some of the abrasives used in the chapter.
Some surfaces will have gouges or pilings, so the mini-files are used.

A die-grinder and various attachments are used as well. Be careful because power sanding can have good, or bad, results.
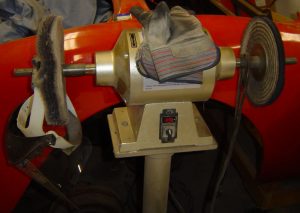
A good part of the polishing is done with a buffer, as seen below.
This chapter explains how the buffer works, safety rules, and how to position each suspension part for maximum safety and shine.
Also the die-grinder is used for tight spaces. Various mini-wheels, felt cones, bobs, and felt cylinders make these jobs easier.
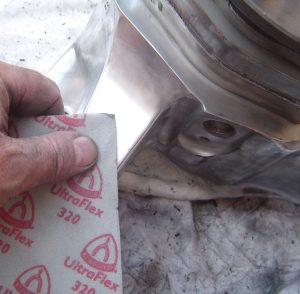
A soft touch should be used when power sanding tools are applied.
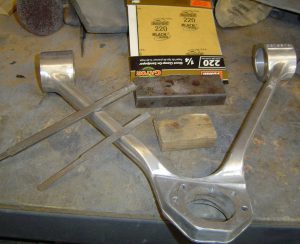
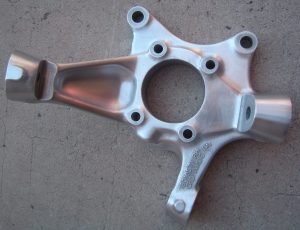
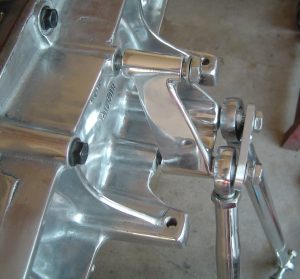
At right is the rear knuckle showing the gouges I made by mis-using the Roloc disk.
The die-grinder can spin up to 18,000 rpm’s and will cut aluminum quickly. I learned this lesson the hard way – but you don’t have to!
The good news is that nearly any mistake you make can be sanded smooth.
The chapter shows you each of the steps to repair, power sand, and hand sand your suspension parts.
Sanding & polishing is a very time-consuming job. So I also demonstrate how to stop at only a smooth satin finish.
The chapter shows you how to sand, but also how to “read” the surface to know when the next step is ready.
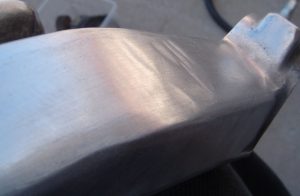
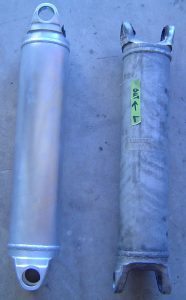
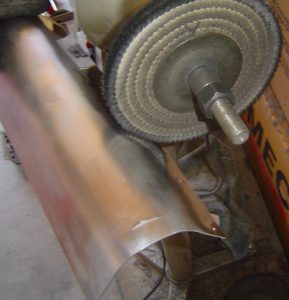
Above are two axle shafts – one sanded, one not sanded.
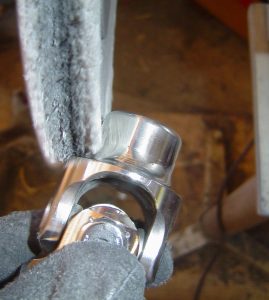
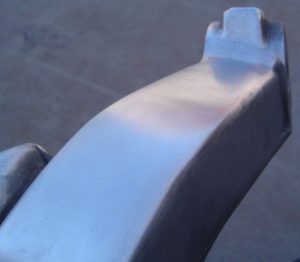
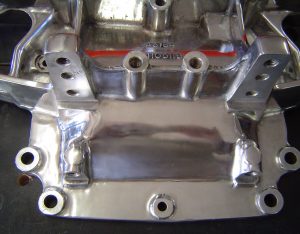
Shown above is the final sanding of the rear steering knuckle – just before using the buffer.
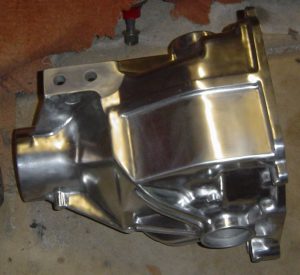
This chapter has 146 color photos that illustrate what your surfaces should look like at every step to a brilliant shine.
After showing the best methods for sanding and polishing, the chapter goes on to explain specifics for each suspension piece.
What tools work best, how to position the part for the best results, and what to be careful of are all in this detailed chapter.
If you have the desire to upgrade your project, you can learn from the methods I used during this very satisfying project.
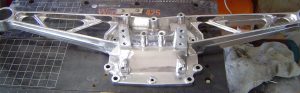
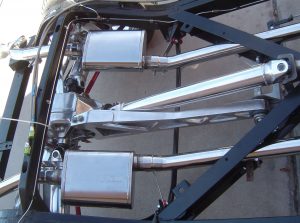
The chapter also demonstrates how to polish other parts of your chassis. At right is the driveshaft, exhaust, and C-beam.
Click HERE to access the Bookstore and this chapter
Other Parts
- Stainless Exhaust
- Aluminum Radiator
- Aluminum Driveshaft
- Aluminum Battery Box
- Steel Steering Linkage
- Rear Tie-Rods & Bracket
See, it’s worth the time spent!
This chapter has details not seen anywhere else on the methods to polish parts and achieve an over-the-top appearance for your project.