About Chapter 4
How to Rebuild C4 Front Brakes
In this chapter, the brake assembly we took off in Chapter 3 is completely rebuilt.
From disassembly, to cleaning, to rebuilding with all new replacement parts, this chapter’s 16 steps provides you with a clear roadmap.
There are 49 detailed photos with pointers that best illustrate this important process.
Chapter 4 starts by listing the tools you need, both required and optional. The workspace is then defined for a safe and easy job.
Hub and brake components are then identified with numerous photos.
The hub is checked for runout – excessive wobbling when rotated – which is never a good thing.
Then disassembly of the hub, steering knuckle and brake caliper is highly detailed for you.
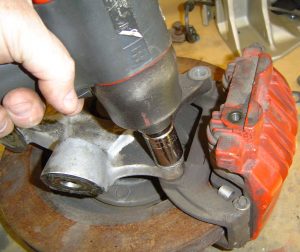
After all parts are blown apart, I briefly show you how to clean them to like new condition.
The second half of this chapter deals with rebuilding the brake calipers. These hydraulic components are critically important to the braking system.
After sandblasting the paint off the calipers, I re-painted them with a high-temperature paint kit from Eastwood.
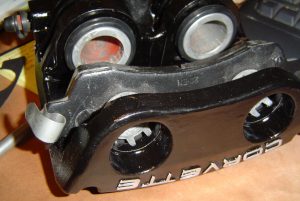
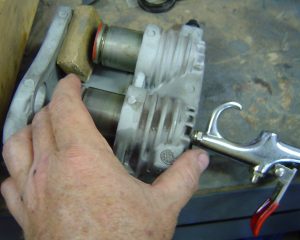
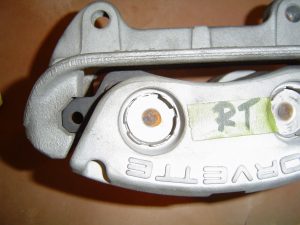
The chapter shows you the correct replacement parts to buy, especially for rebuilding the hydraulic calipers. The rebuild kit from Autozone is what I used and the fit was really good.
A complete review of all types of brake pads is offered as well. My pads are made by Raybestos and purchased from RockAuto .
New slotted and drilled rotors from Summit Racing are part of my rebuild. And because my Grand Sport donor came with 13-inch vs. standard 12-inch rotors, I bought the larger ones for better braking power.
The end of the chapter lists all part numbers and vendors I used for this rebuild.
Whether you donor car is still on the road, or has been sitting for a few years, you definitely want to inspect and rebuild the braking system.
